Product photography
How to Make a Transparent PNG for Product Photos
A repeatable ecommerce workflow for clean cutouts, difficult edges, consistent catalog framing, and correct PNG transparency.
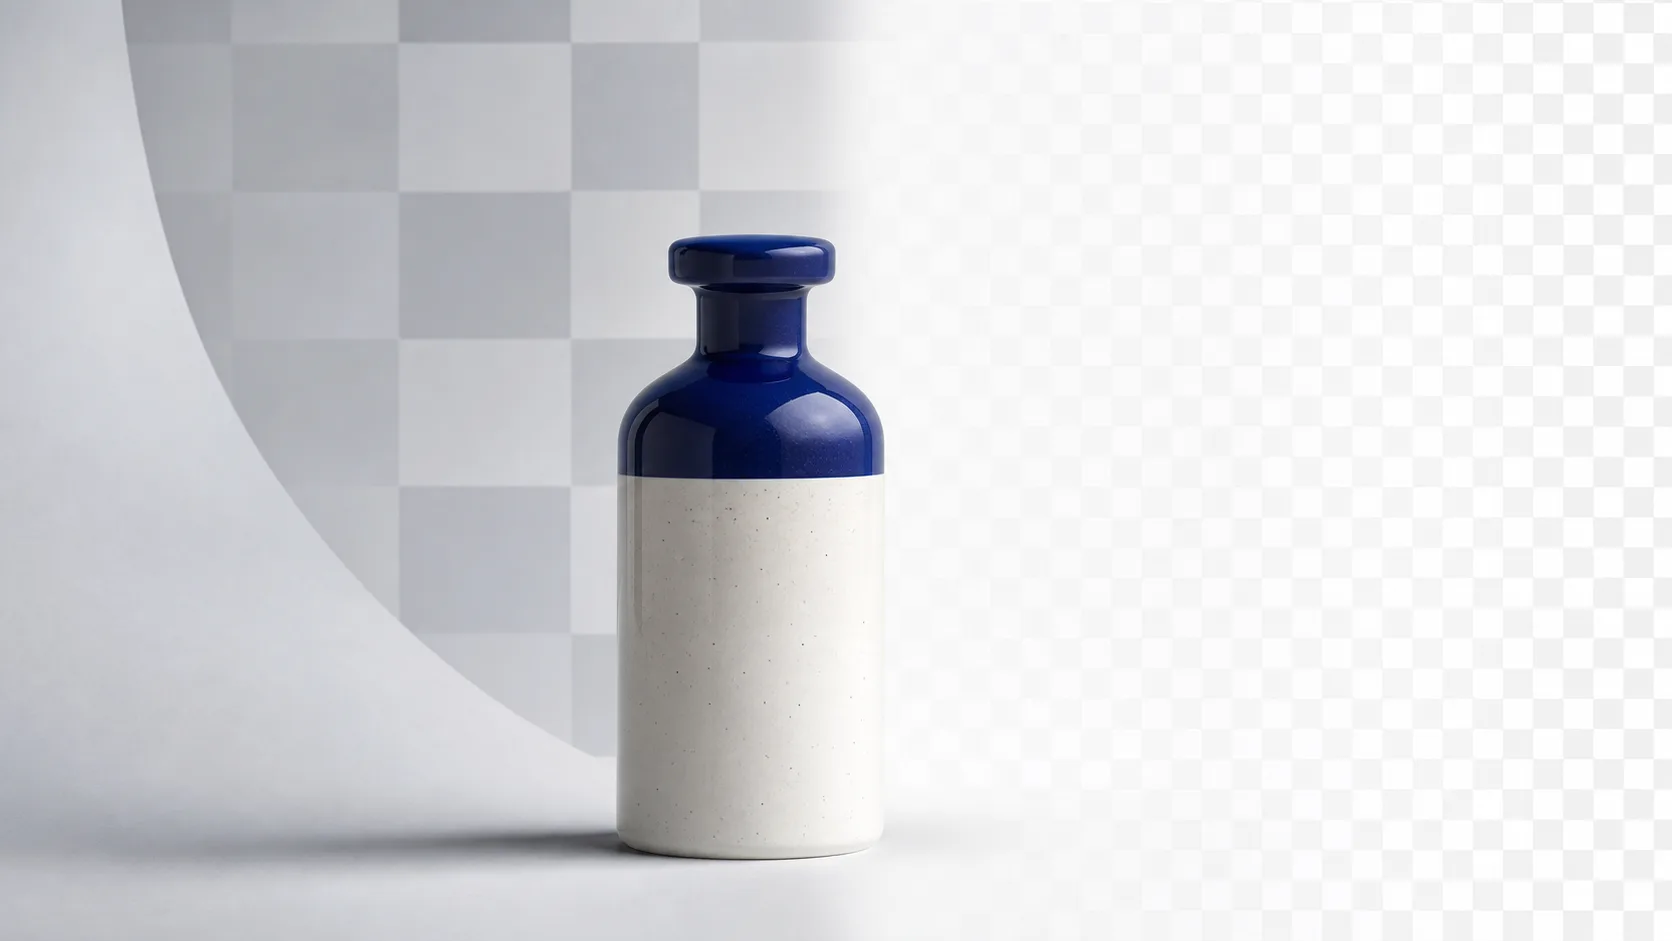
A transparent PNG is not simply a product photo with a white background. It contains an alpha channel that records how opaque every pixel should be, allowing the product to sit naturally on a website, marketplace card, catalog layout, or new campaign background.
How PNG transparency works
JPEG stores color but does not support transparent pixels. PNG can store both color and alpha, which is why a properly exported cutout displays a checkerboard in image editors and adapts to any background in a design.
Swipe horizontally to see all columns →
| Format | Transparency | Best use |
|---|---|---|
| PNG | Full alpha transparency | Cutouts, logos, product assets, UI elements |
| WebP | Supports transparency | Smaller website assets when the publishing system supports it |
| JPEG | No transparency | Finished photographs with a fixed background |
Prepare a source photo that is easy to cut out
Background removal quality begins before processing. Clear separation between the product and its surroundings gives the model better edge evidence and reduces color spill.
- Use even light and avoid clipping bright product edges into a pure white background.
- Keep the entire product inside the frame with enough breathing room around every side.
- Choose a background color that contrasts with the product, especially for white or transparent objects.
- Clean dust, fingerprints, and packaging damage before shooting; removal does not replace product retouching.
- Photograph a consistent camera angle and distance when building a product catalog.
Remove the background without changing the product
- Upload the original product photo. Use the full-resolution file rather than a marketplace screenshot.
- Run background removal once. The product silhouette should remain unchanged; only the surrounding scene should disappear.
- Preview against a checkerboard and a dark color. A dark preview exposes pale halos that are invisible on white.
- Check internal openings. Handles, straps, chair legs, jewelry, and packaging cutouts may contain background that also needs removal.
- Export as PNG. Do not convert the final cutout to JPEG if transparency is required.
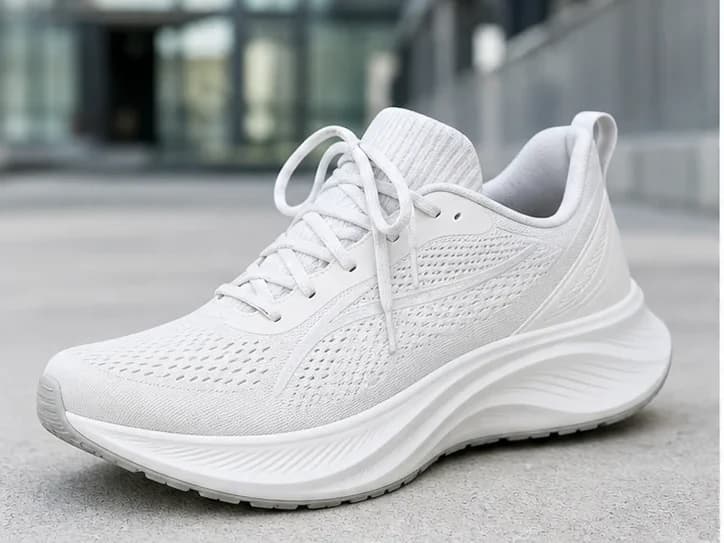 Before
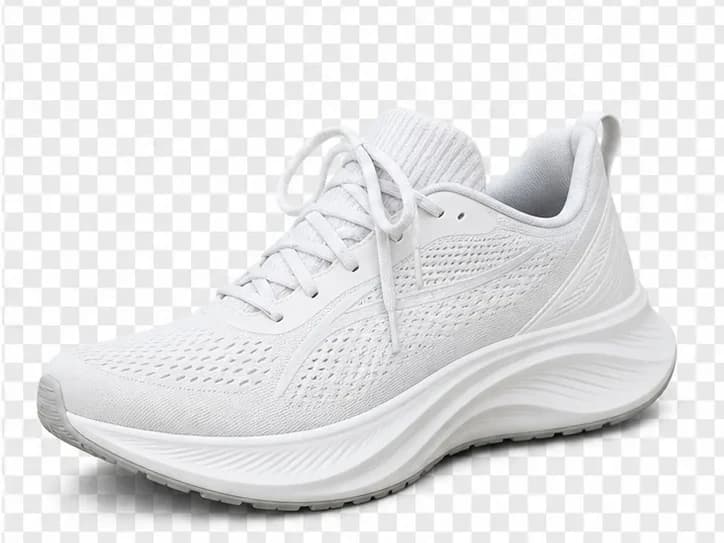 After
AfterInspect the edges that usually fail
Swipe horizontally to see all columns →
| Edge type | Typical problem | Quality test |
|---|---|---|
| Hair, fibers, soft fabric | Edges become too hard or lose fine strands | View over both light and dark backgrounds |
| Glass and translucent plastic | Transparency is flattened or reflections disappear | Check whether the material still reads as transparent |
| Reflective metal | Background color remains in reflections | Look for an unnatural colored fringe |
| White product on white | Silhouette disappears into the source background | Inspect curves and corners against dark gray |
| Soft shadow | Shadow is removed or becomes a gray halo | Decide whether to keep a natural shadow or add one later |
Glass, smoke, and translucent packaging are genuinely difficult because the background is visible through the subject. A clean binary cutout is often less realistic than a carefully preserved partial alpha edge.
Build a consistent product catalog, not isolated cutouts
Individual edge quality matters, but consistency matters more across a storefront. Products should share a visual system so the grid feels deliberate rather than assembled from unrelated sources.
- Use one canvas ratio for each listing type, such as square for catalog cards.
- Keep comparable products at a similar visual scale rather than forcing identical pixel dimensions.
- Set consistent top, side, and bottom padding.
- Align products by a meaningful baseline, such as the bottom of a bottle or shoe sole.
- Use the same shadow policy across the collection: none, subtle grounded shadow, or a consistent studio shadow.
Save one high-resolution transparent master per product. Generate marketplace-specific JPEGs, white-background versions, and smaller WebP files from that master instead of repeating background removal for every channel.
Export settings that preserve transparency
- Format: PNG for the portable master cutout.
- Color: sRGB for predictable web display unless your print workflow requires another profile.
- Canvas: keep comfortable transparent padding so the product is not clipped in cards or ads.
- Resolution: export at or above the largest expected display size; let the website deliver responsive derivatives.
- Filename: use a stable descriptive name such as product-name-front-transparent.png.
Frequently asked questions
Why does my PNG still have a white background?
Should a product cutout keep its shadow?
Is PNG always better than WebP?
Can transparent glass be cut out automatically?
Put the workflow into practice
Start with your own image
Upload an image, review the exact credit cost before processing, and compare the result at full size before downloading.
Create a transparent PNG