AI editing
AI Photo Editing Prompts: A Practical Framework for Precise Edits
A reusable prompt framework, concrete examples, and a debugging method for edits that drift too far from the original photograph.
A strong AI photo editing prompt is a change request plus a preservation contract. It explains what should change, where that change belongs, how the new element should fit the photograph, and which parts of the original must remain untouched.
The anatomy of a strong photo editing prompt
Use this order: target → change → visual constraints → preservation constraints → output intent. It is easier for both you and the model to evaluate than a pile of style adjectives.
Specificity should describe evidence, not simply intensity. “Make it more professional” is subjective. “Replace the cluttered desk with a clear walnut surface, preserving the laptop, camera angle, window light, and existing shadows” gives the model a testable instruction.
State what must stay unchanged
Most disappointing edits are not failures to change the requested element; they are failures to preserve everything else. Explicit invariants reduce that drift.
Swipe horizontally to see all columns →
| Editing goal | Useful invariants |
|---|---|
| Portrait retouch | Keep identity, facial proportions, expression, skin tone, hair, and age unchanged |
| Product background | Keep product geometry, label, color, material, reflections, and camera angle unchanged |
| Interior redesign | Keep room dimensions, windows, perspective, structural elements, and daylight direction unchanged |
| Object removal | Keep surrounding texture, shadows, crop, lens perspective, and all other objects unchanged |
| Weather or season | Keep subject identity, buildings, terrain, camera position, and composition unchanged |
Practical AI photo editing prompt examples
Remove a distracting object
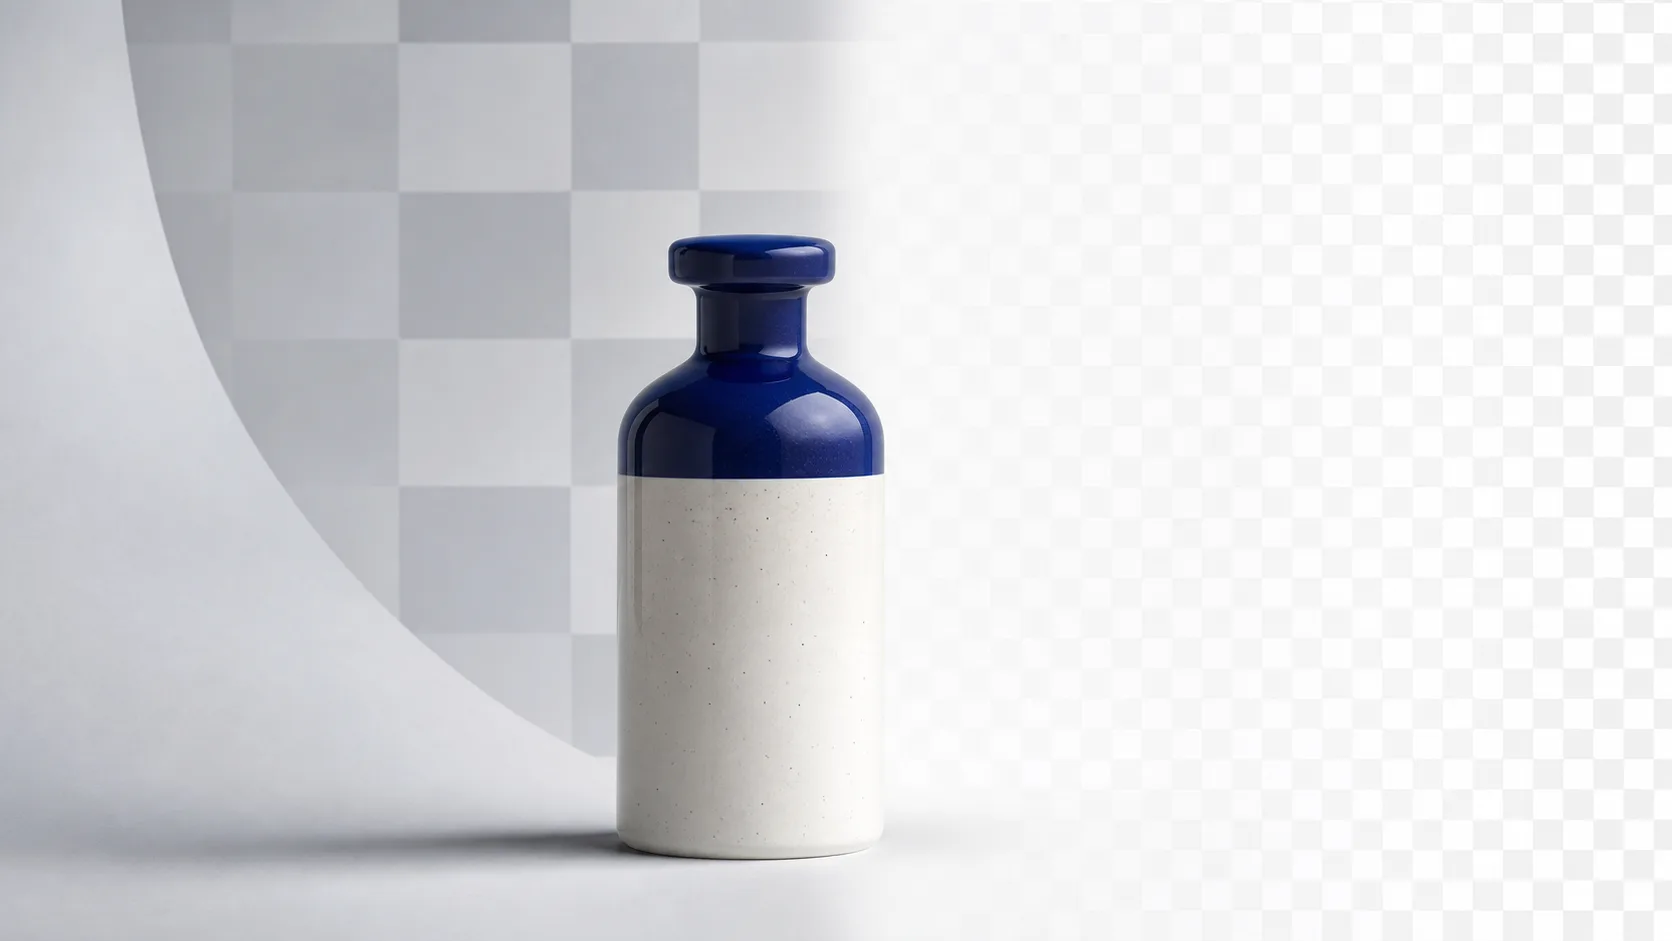
Replace a product background
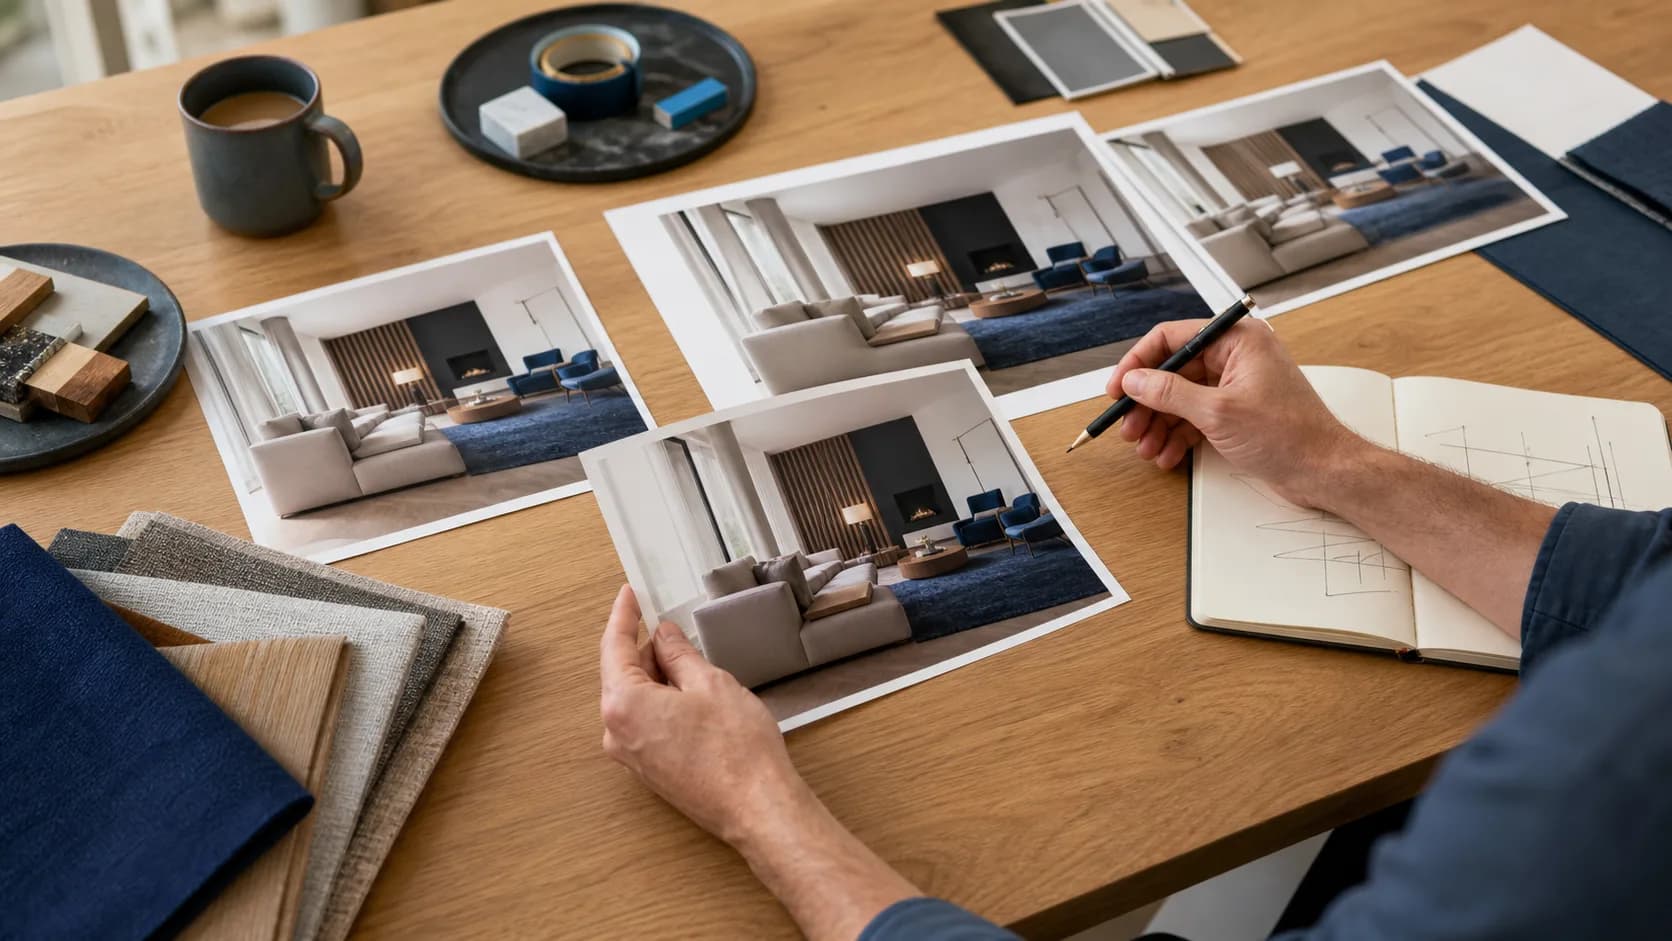
Change one interior material
Create a natural cinematic grade
 Before
 After
AfterDebugging a weak result
Do not respond to a poor edit by adding more adjectives. Identify the exact class of failure, then add one corrective constraint.
Swipe horizontally to see all columns →
| Symptom | What the prompt is missing | Correction |
|---|---|---|
| Face or product changes | Identity/geometry preservation | Name the features, proportions, label, and materials that must stay unchanged |
| New object looks pasted in | Integration constraints | Specify light direction, contact shadow, perspective, focus, and color temperature |
| Too much of the image changes | A narrow target | Start with “change only…” and list protected regions |
| Result is generic | Concrete visual evidence | Describe material, surface, location, camera framing, and intended use |
| Text becomes nonsense | Exact wording and preservation | Quote the required text verbatim or state that all existing text must remain unchanged |
Google’s examples for conversational photo editing similarly combine concrete actions—such as straightening, fixing shadows, and adjusting grass color—rather than relying on vague style labels. See Google Photos editing prompt examples.
A repeatable prompt-and-review workflow
- Describe the target in a way that distinguishes it from similar objects.
- Write one exact change using observable visual language.
- Add the physical rules that make it belong: perspective, material, light, shadow, and focus.
- List the identity, geometry, objects, and composition that must remain unchanged.
- Generate and compare the whole image before inspecting pixels.
- If the result drifts, revise one constraint instead of rewriting the entire prompt.
Save successful prompts with the source and result. Over time, your most valuable prompt library will not be a list of trendy effects; it will be a collection of preservation clauses that work reliably for your products, portraits, interiors, and brand photography.
Frequently asked questions
Do longer prompts produce better photo edits?
How do I stop AI from changing a face?
Should I name a camera or lens?
Why does the model add objects I did not request?
Put the workflow into practice
Start with your own image
Upload an image, review the exact credit cost before processing, and compare the result at full size before downloading.
Open the AI image editor